When you’re assembling a hamper, the goal is to delight the recipient with a curated collection of treats that stay fresh until the moment they’re opened. Yet, the hidden villain lurking in every basket is the expiration date. Knowing how to handle product expiration dates in hampers can make the difference between a gift that sparkles and one that feels stale. In this guide we’ll walk through planning, tracking, and communicating about dates so your hampers stay safe, tasty, and unforgettable.
Understanding the Challenge of Expiration Dates in Hampers
Expiration dates are like the countdown timers on a digital alarm clock—once the clock hits zero, the product’s quality may decline, and in some cases, it can become unsafe. For hamper creators, the challenge is twofold: first, selecting items that can survive the journey from your warehouse to the recipient’s doorstep; second, ensuring that the dates are clear and accurate so the recipient knows exactly when the goodies are best enjoyed.
A friend of mine once sent a hamper to a colleague that included a jar of homemade jam. The jam had a “best by” date a month after the hamper was delivered. When the colleague opened it, the jam had turned a slightly off color and tasted sour. The lesson? A well‑planned hamper can feel like a surprise party, but an overlooked expiration date can ruin the mood.
Planning Ahead: Choosing Shelf‑Stable Products
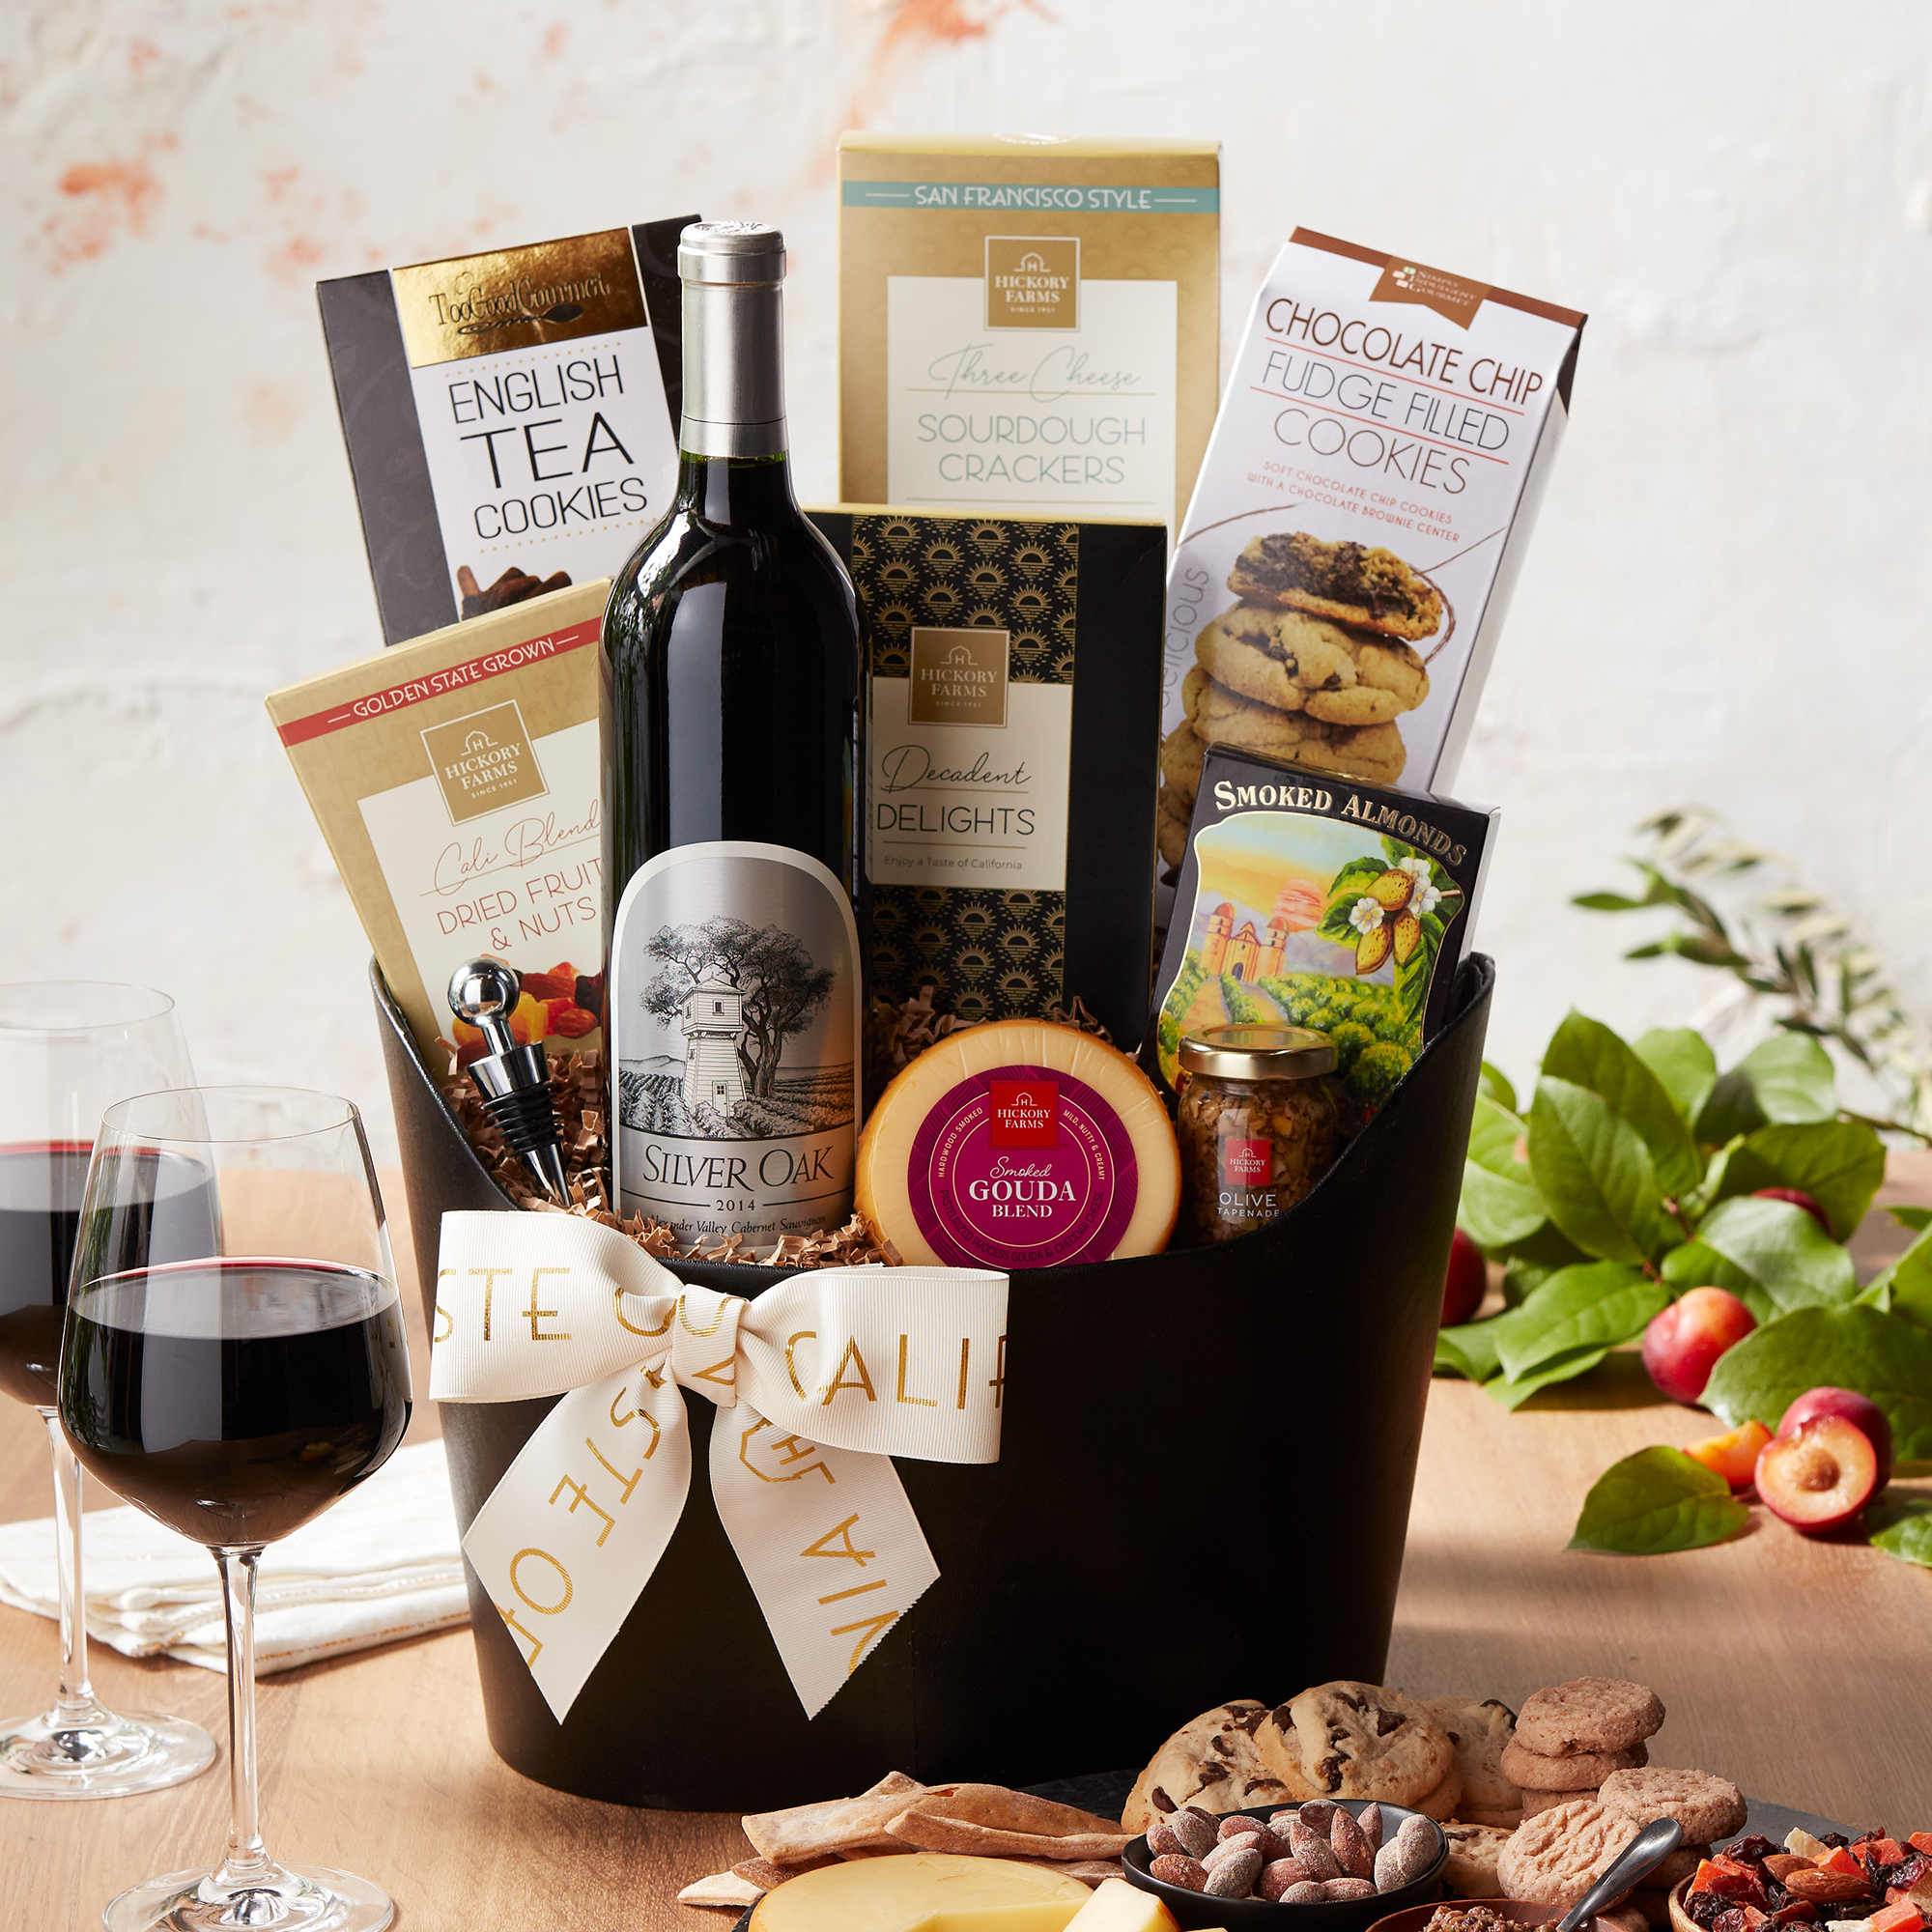
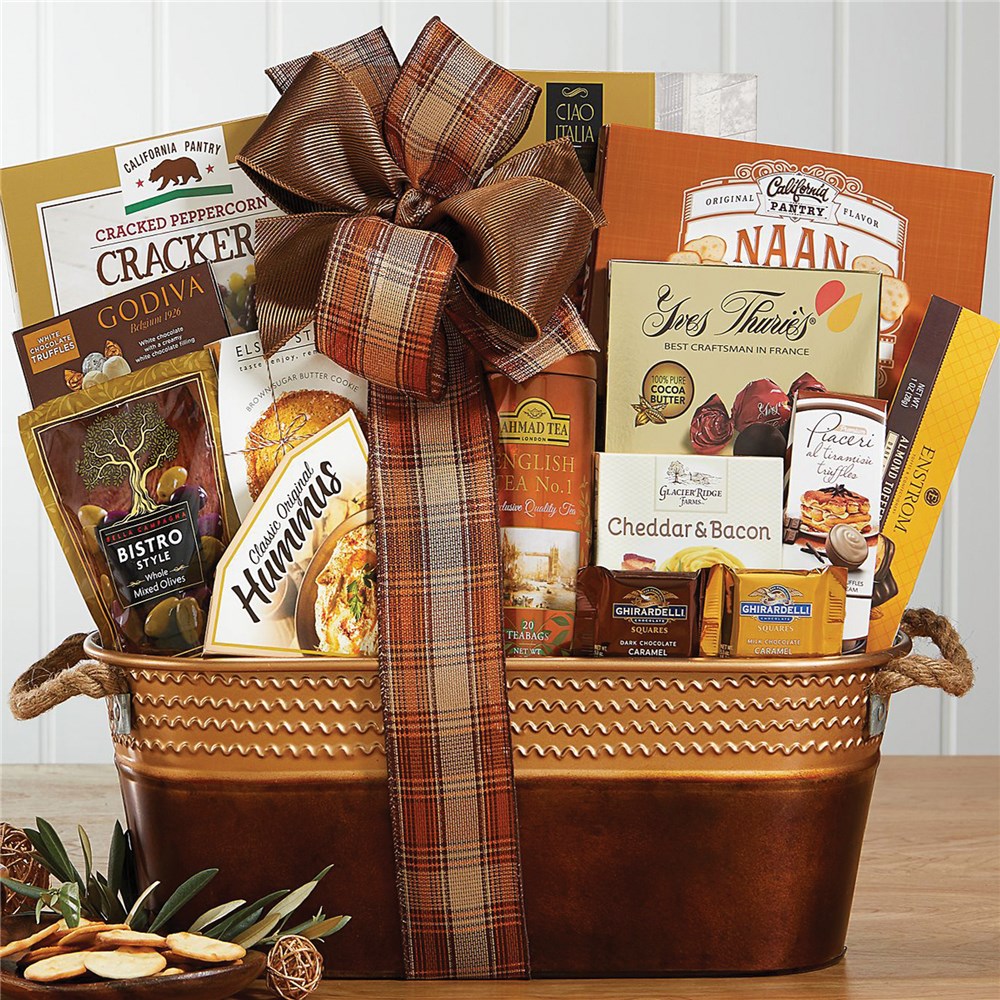
When you’re curating a hamper, think of shelf‑stable items as the backbone of your gift. These products are designed to stay safe and tasty for extended Wine and cheese baskets periods, making them ideal for hampers that might sit on a shelf for weeks.
Selecting the Right Items
- Dry goods: crackers, nuts, dried fruit, and chocolate Canned or jarred: pickles, olives, and preserves with preservatives Spreads: peanut butter, chocolate spread, and honey Beverages: bottled wine, craft beer, or non‑perishable coffee blends
> “Quality is not an act, but a habit,” says Aristotle. When it comes to hampers, treating every item with the same level of care ensures consistency.
When choosing products, check the packaging for a best by or use by date that is at least six months ahead of your expected delivery. This gives you a buffer for shipping delays or unexpected storage time.
Tracking Expiration Dates: Systems and Tools
Once you’ve selected your items, the next step is to keep a tight leash on their dates. Here are some practical ways to do that:
Create a Master Spreadsheet
| Item | Supplier | Expiration Date | Stock Level | Notes |
|------|----------|-----------------|-------------|-------|
| Dark Chocolate | CocoaCo | 2025‑08‑15 | 120 | Store in cool, dry place |
| Dried Apricots | FruitFresh | 2024‑12‑01 | 80 | Check for moisture |
This simple table lets you see at a glance which items need to be shipped soon and which can be stored longer.
Use a Barcode or QR Code System
Attach a small sticker with a QR code that links to an online sheet or database. The recipient can scan the code to verify the date and even receive a recipe suggestion.
Automate Alerts
Set up email or text alerts to notify you when a product’s expiration date is within 30 days. This proactive approach prevents last‑minute scrambling.
Packaging Tips to Extend Shelf Life
Even the best‑chosen products can benefit from thoughtful packaging. Think of packaging as a protective shield that keeps Corporate Christmas hampers the product at its prime.
- Vacuum seal: Removes air, reducing oxidation and staling. Use moisture‑absorbing packets: Especially useful for nuts and dried fruits. Choose sturdy boxes: A flimsy box can crush delicate items, exposing them to air and light. Label clearly: Place a small tag with the product name and date on the outside of the box so the recipient sees it immediately.
A metaphor that fits well here is that your packaging is the “bottle neck” that keeps the product’s freshness from slipping through. By tightening that neck, you preserve the quality until the moment of opening.
Communicating with Customers: Transparency and Trust
A well‑designed hamper can be a conversation starter. Letting customers know how you handle expiration dates builds trust and sets you apart from competitors who might neglect this detail.
- Include a note: A short card that says, “Enjoy within 3 months of opening for maximum flavor.” Provide a QR code: Link to a page with detailed product information and storage tips. Offer a satisfaction guarantee: If a product is past its expiration date, offer a replacement or refund.
Rhetorical question: “What’s better than a gift that keeps on giving?” The answer is a hamper that stays fresh and delicious for weeks, not days.
Quick Fixes for Unexpected Expiration Issues
Even with meticulous planning, sometimes a product’s date slips through the cracks. Here’s what to do:
- Check the product immediately: Look for off smells, discoloration, or mold. If safe, repurpose: Use jam in a recipe, or dry fruit in a homemade trail mix. If unsafe, discard: Never risk health issues. Notify the customer: Apologize and offer a replacement or refund.
A quick fix can turn a potential disaster into a demonstration of customer care.
The Perfect Gift Awaits
By carefully selecting shelf‑stable items, tracking expiration dates with spreadsheets or QR codes, packaging thoughtfully, and communicating transparently, you can ensure that every hamper you send is a delightful experience. Remember that a hamper is more than a collection of goods; it’s a promise of quality, care, and thoughtful curation. When you master how to handle product expiration dates in hampers, you’re not just avoiding spoilage—you’re elevating the gift‑giving experience to something truly memorable.
Ready to take your hamper game to the next level? Start by reviewing your current inventory, setting up a simple tracking system, and adding a personal touch with clear labeling. Your recipients—and your reputation—will thank you.